Best Practice for Closing and Insulating 2×10 Headers
Reader DAVE in VIROQUA writes:
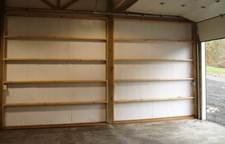
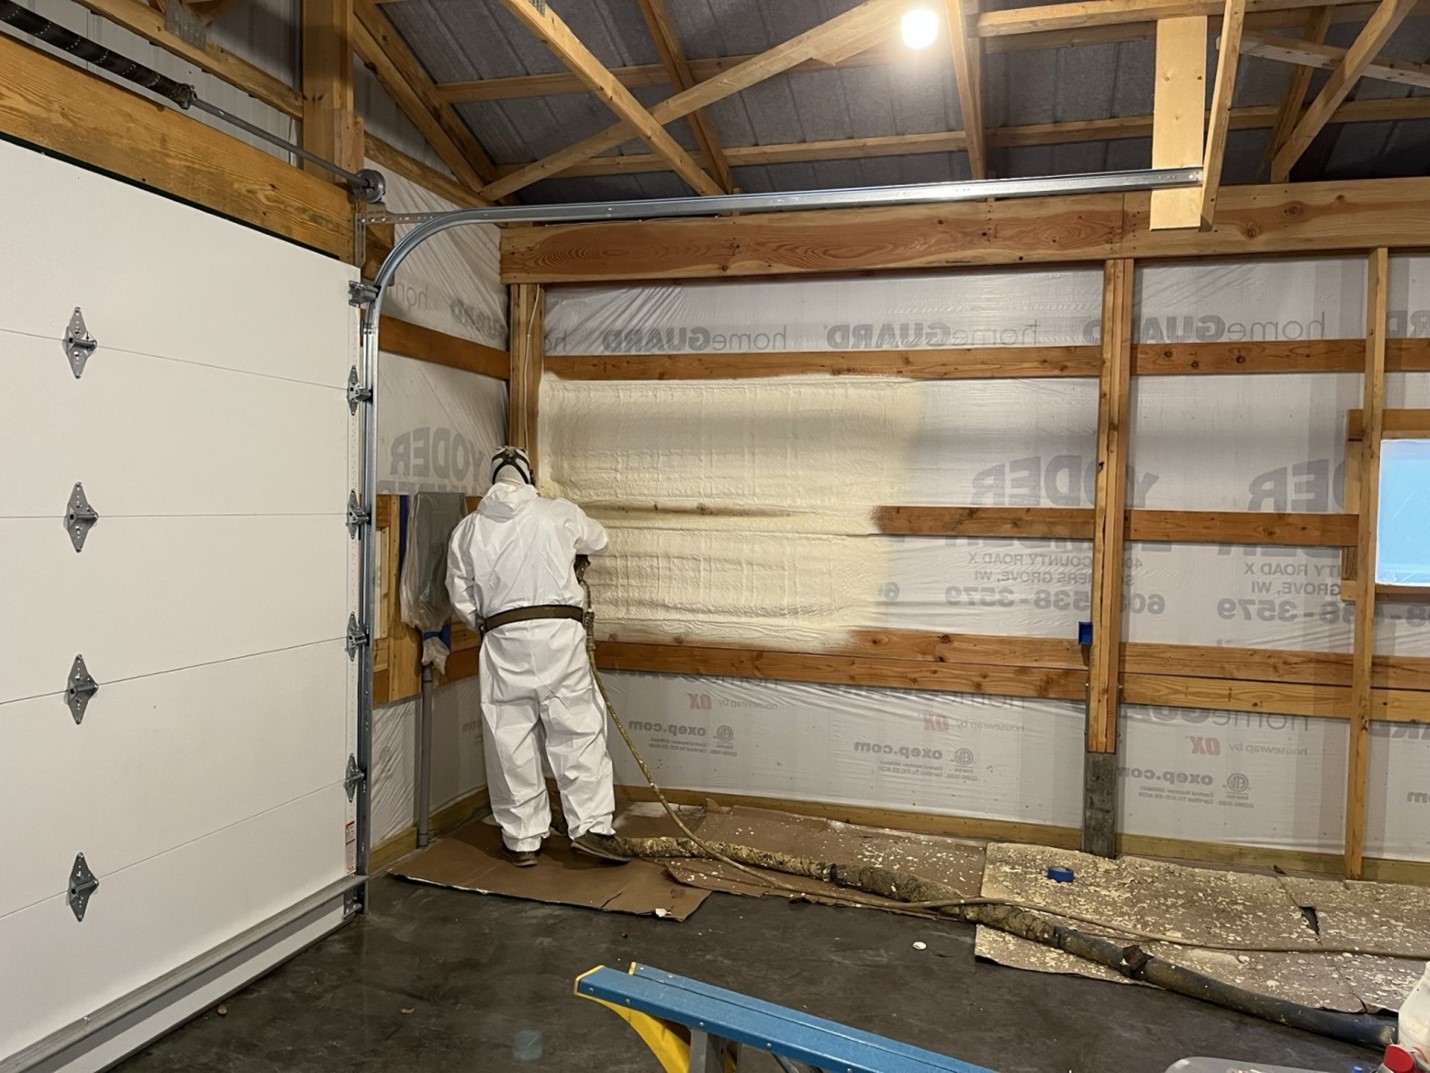
“Best practice for closing and insulating 2×10 headers. My pole barn has building wrap then closed cell spray foamed walls. Ceiling not yet installed but want to use blown in fiberglass with vapor barrier. The spray foam on walls goes up to the bottom edge of the outer header. Before the ceiling is installed and insulated what is your suggestion to close and insulate the double 2×10 header to prevent moisture issues etc.? My walls will be finished off at a later date. Building has vented soffits and ridge vent. Roof panels have drip guard on underside as well. The post framing is laminated 2×6-3ply. Thank you.”
Mike the Pole Barn Guru pens:
One of my pet peeves of what I refer to as 4 & 8 buildings (trusses every 4′, columns every 8′) is when truss carriers (headers between columns) are applied to column faces, rather than being notched in. Rarely are fasteners sufficient to be able to resist loads imposed by those once every hundred years snow storms, resulting in roofs lowered to top of vehicle levels.
Besides connection challenges, it further reduces actual amount of usable interior space. As an example, builders/providers will set outside of exterior (barn style) girts at Building Lines, and to finish interior requires adding yet another set of face mounted wall girts. This ends up with wall framing 8-1/2″ thick. On a 24′ wide building, if 1/2″ gypsum wallboard is used, interior finished dimension ends up being only 22’6″!
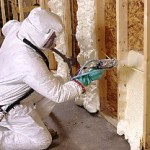
In answer to your question, you’ll want to enclose above double 2×10. This can be done by cutting strips of whatever low cost sheet good you can find (OSB, plywood, etc.) and installing them between trusses on top of truss carriers. Fill cavity between 2x10s with closed cell spray foam.
Hopefully you will not have issues with your current closed cell spray foam applied to a weather resistant barrier. Best practice is to spray directly to inside of steel (please read more here https://www.hansenpolebuildings.com/2020/04/spray-foam-insulation-3/)

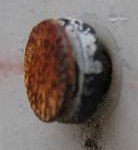
 DEAR DANIEL: Your premature decay of fence posts has nothing to do with how fast lumber grows – it is them not being pressure preservative treated to UC-4B levels. All of our fully engineered post frame (pole barn) buildings utilize this level of pressure treating and it performs admirably. If you are yet concerned, there are options available such as plastic column sleeves, or pouring piers with wet set brackets to keep columns out of ground entirely.
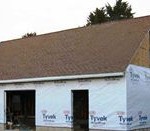 DEAR POLE BARN GURU: Concerning fastening house wrap, can you use button staples as recommended by house wrap companies? I didn’t know if the button would show through the tin. I don’t want to lose house wrap before tin would be up as we live in a very unpredictable and windy area but also don’t want button to show through tin if that’s a possibility. Thanks! ADAM in COLBY
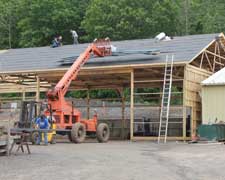 DEAR MARY: Most of our buildings have steel roofing (although any roofing type can be used – shingles, tile, etc.). We recommend using some method of controlling possible condensation on underside of steel roofing – either a Reflective Radiant Barrier (
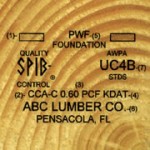
 DEAR RICHARD: Comments/reviews posted on The Home Depot® website for our buildings are literally nothing short of hilarious. Obviously these are not from verified purchasers of our engineered post frame buildings kits. All lumber needed for this and any of our buildings is sawn to size. Dimensional lumber has been planed (surfaced), dried to 19% moisture content or less and grade stamped to verify adequacy for structural usage.
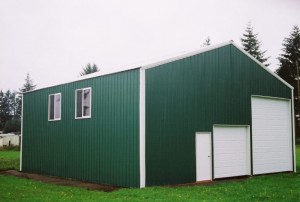 DEAR POLE BARN GURU:
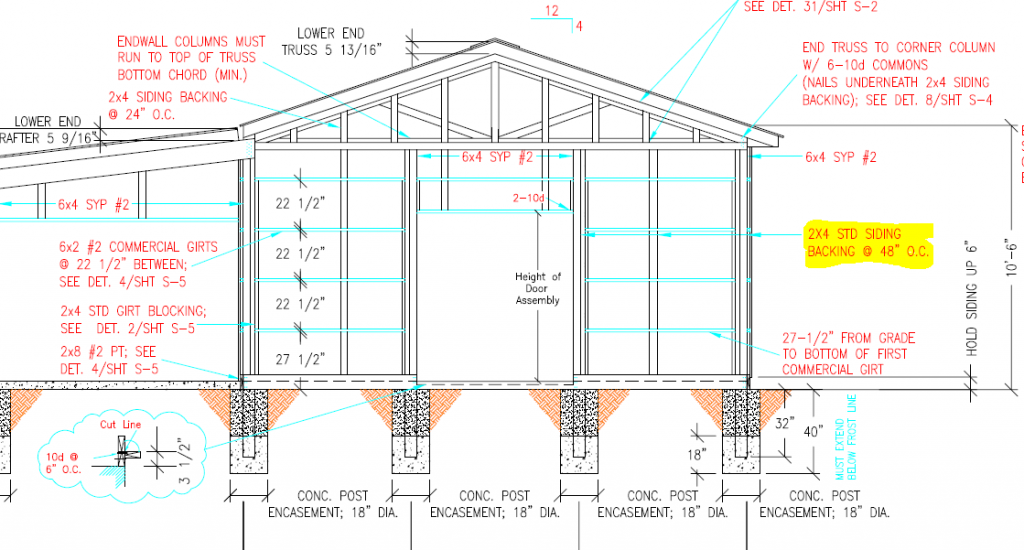
 DEAR POLE BARN GURU:
 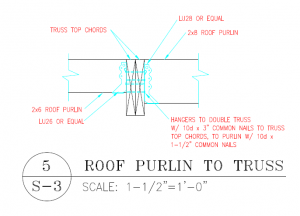 DEAR RICK: Justine forwarded to you manufacturer’s warranty information in regards to your building’s glulaminated columns, specifying level of treatment as adequate for structural in ground use.
 DEAR POLE BARN GURU: