Once again – confession time. I’ve never personally used spray foam insulation.
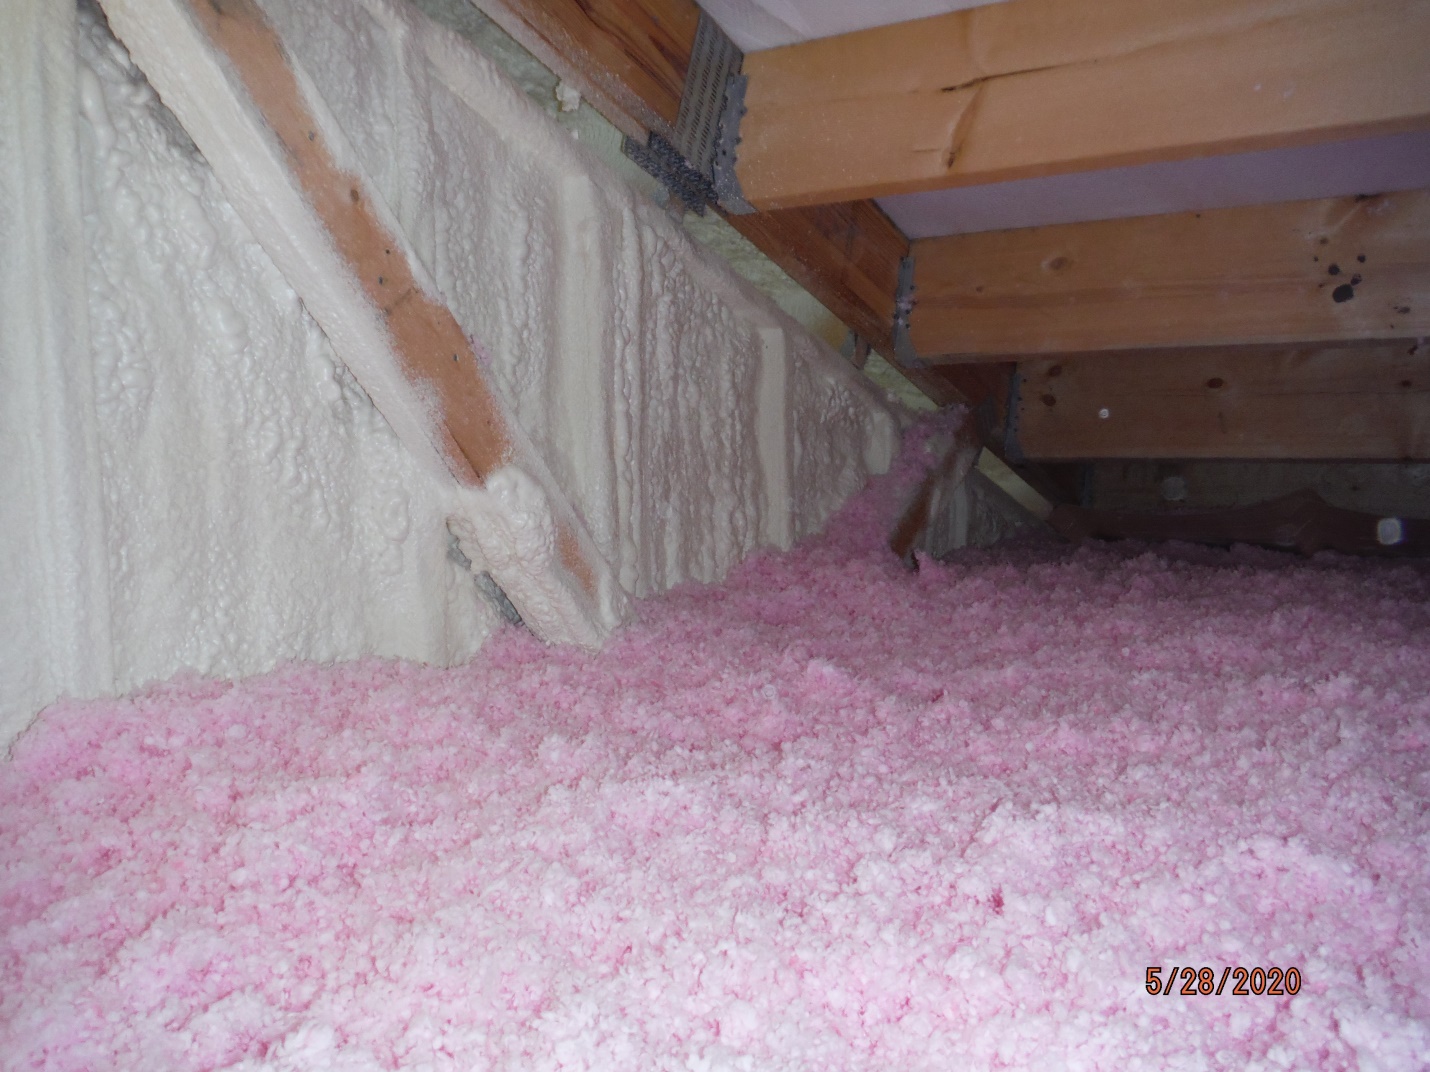
My oldest stepson, Jake, teaches high school chemistry and physics. He is one smart dude, as he has a master’s degree. When he added onto what was formerly his grandparent’s home, in the Browns Valley, MN area, he utilized closed cell spray foam insulation.
Not only is Jake smart, but he is also frugal, which tells me he did his research and compared costs of not only the original installation, but also savings over time.
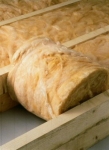
Polyurethane foam insulation is available in closed-cell and open-cell formulas. With closed-cell foam, the high-density cells are closed and filled with a gas which helps the foam expand to fill the spaces around it. Open-cell foam cells are not as dense and are filled with air, which gives the insulation a spongy texture.
Polyurethane and isocyanate foams are applied as a two-component mixture which comes together at the tip of a spray gun, and forms an expanding material. While open-cell foams typically have R-values of 3.5 per inch, closed-cell foams can attain R-values of 7 per inch. Closed-cell foam is very strong, and structurally reinforces the insulated surface. By contrast, open-cell foam is soft when cured, with little structural strength. However, it provides superior sound resistance and allows timber to breathe. It is also fire-resistant and won’t sustain a flame.
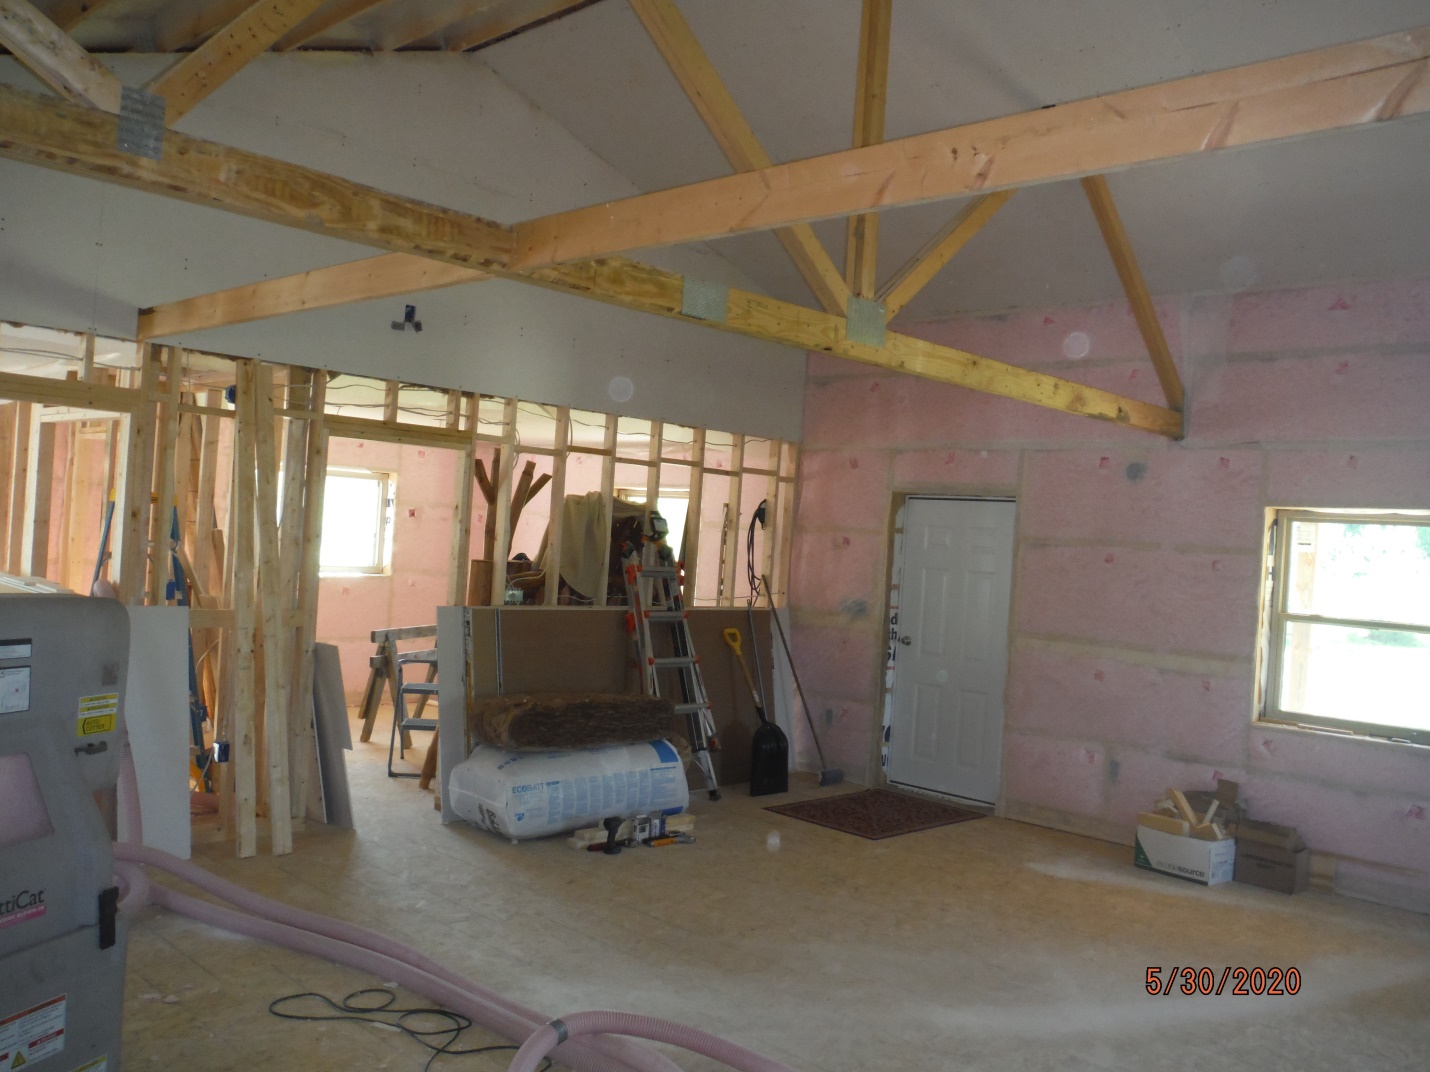
 Spray foam insulation costs more than batt insulation, but it has higher R-values. It also forms an air barrier, which can eliminate some other weatherizing tasks, such as caulking. This plastic insulation goes on as a liquid and expands to fill the available space, sealing all gaps and cracks and stopping any air leaks (This can also keep out bugs or other vermin). Another advantage is foam can fill wall cavities in finished walls without tearing the walls apart (as required with batts). It also provides acoustical insulation and increases structural stability. When building a new post frame building, this type of insulation helps reduce construction time and the number of specialized contractors, which in turn saves money.
The cost can be high compared to traditional insulation; however, open cell foams provide a better economical ratio. Open-cell foam is $1 to $1.20 per sq. ft. while closed-cell foam is $1.75 to $3 per sq. ft. (for a 2-by-4-framed wall). Both require professional installation.
Here is an earlier example of the investments into each: https://www.hansenpolebuildings.com/2014/02/insulation-foam-fiberglass/
Although for moisture control closed-cell foam is non-porous, open-cell requires a vapor barrier; however, the added cost of closed-cell foam may not be as advantageous as vapor barriers are usually required by building codes, regardless of the type of insulation used. Also, closed-cell polyurethane insulation levels can drop over time as some of the low-conductivity gas escapes and air replaces it in a phenomenon known as thermal drift.
In summary, DIY people use fiberglass as it is readily available, maintains a reasonable price ratio and is easy to install. Although it is not as easy to sustain the higher performance required by today’s insulation standards over time. It is also a health hazard. Most tract homes also use fiberglass insulation for the same reasons. However, the installation experience of the contractors can improve the overall performance.
Higher-end tract homes and custom homes tend to use the cellulose and foam solutions. They provide a superior insulation level and a number of other advantages, including air and vapor blocking, noise reduction and insect minimization.
As with all things, you get what you pay for and you can pay up front or pay later. There is no shortcut to energy efficiency and saving money.
We will be adding an elevator shaft to our own post frame building home later this summer. Although it is not a large footprint area, it will be over 30 feet tall and keeping it the temperature of the rest of the building will be a high priority – so I will be investigating spray foam myself.
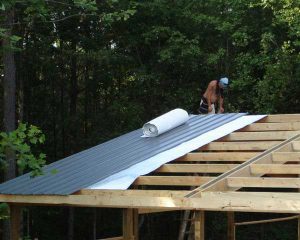
 Reader ERICA in WEST COLUMBIA writes: “Is there a specific bubble insulation brand you recommend? We will be using this as our vapor barrier in the roof. I’ve seen posts about this type of insulation disintegrating, so I’m wondering if the claims are exaggerated or if in fact it could be a certain brand. Also we are wanting to have cathedral ceilings throughout our building. Our roof is made with metal trusses and wood purlins. We are using bubble insulation and some type of batt insulation. What is the best method to vent if we are not going to have an attic space?”
 Instead, look at spraying two inches of closed cell spray foam directly to underside of roof steel (between purlins), then fill balance of purlin cavity with unfaced rockwool batts. This will get you a higher R value and save on material and labor for a lot of 2×4. You should not vent either eaves or ridge in this case.
 If you have not seen ridiculous claims of double digit R-values from reflective radiant barriers yet (aka ‘bubble wrap insulation”) you will. Read more about these claims here:
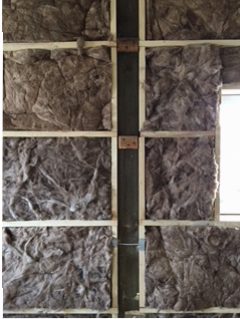
 For walls – siding, weather resistant barrier (aka house wrap), unfaced batts, clear poly, interior finish works fine. On your roof, house wrap allows moisture to pass through and be trapped between it and roof steel – possibly causing premature degradation of your roofing. You need a thermal break directly below roof steel. I would recommend an Integral Condensation Control (
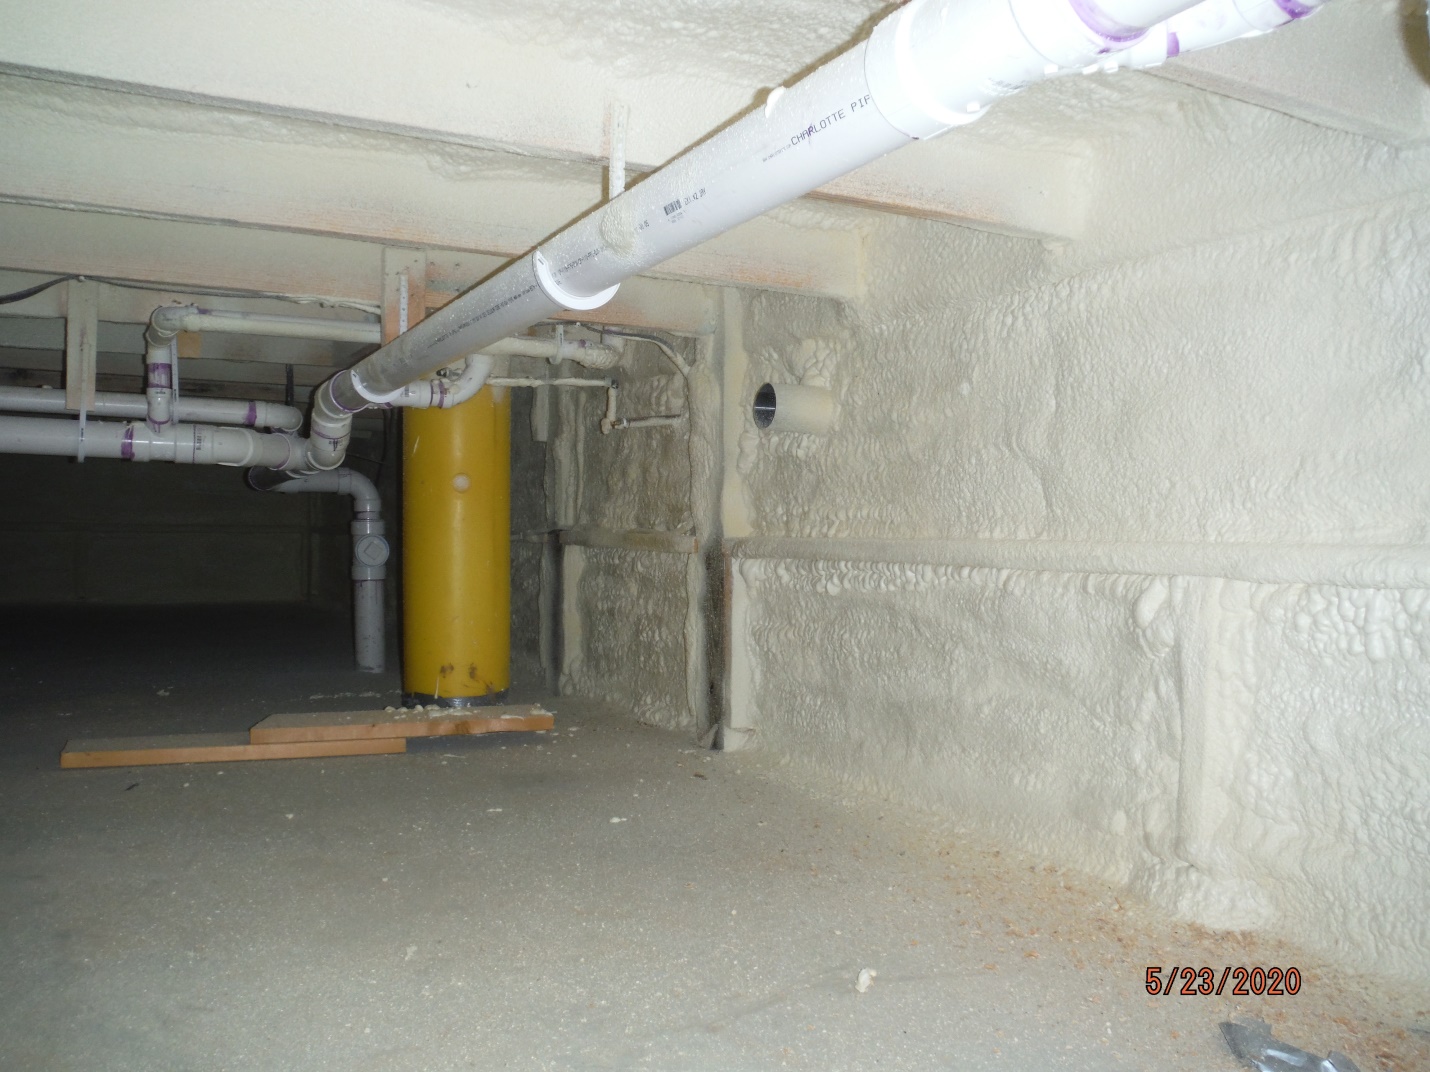


 My preference is engineered prefabricated wood floor trusses. To me, I joists always feel spongy. Dimensional lumber varies greatly in both height dimension as well as stiffness of each piece leading to a feeling of lots of ups and downs as you walk across a floor. Both of the last two make running duct work and plumbing within floor cavity near impossible – leaving things having to hang below the floor’s finished underside.
 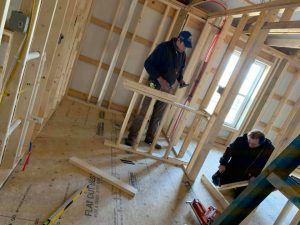 This myth is created and propagated by post frame kit suppliers and post frame builders who do not understand there is a solution – and a very cost effective one (in both labor and materials).
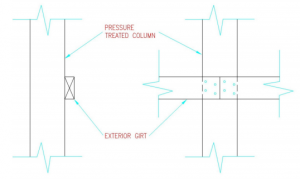 Wall girts flat on column exteriors are inadequate to carry imposed loads and will not meet deflection limitations. I would suggest you reinforce each of them to create either an “L” or a “T”. Assuming you have 6×6 wall columns, you could place a 2×8 bookshelf style girt on top or bottom of each girt, nailing through 2×8 into existing girts with a 10d common nail at say 12 inches on center. This will create an insulation cavity and allow for easy interior finish.
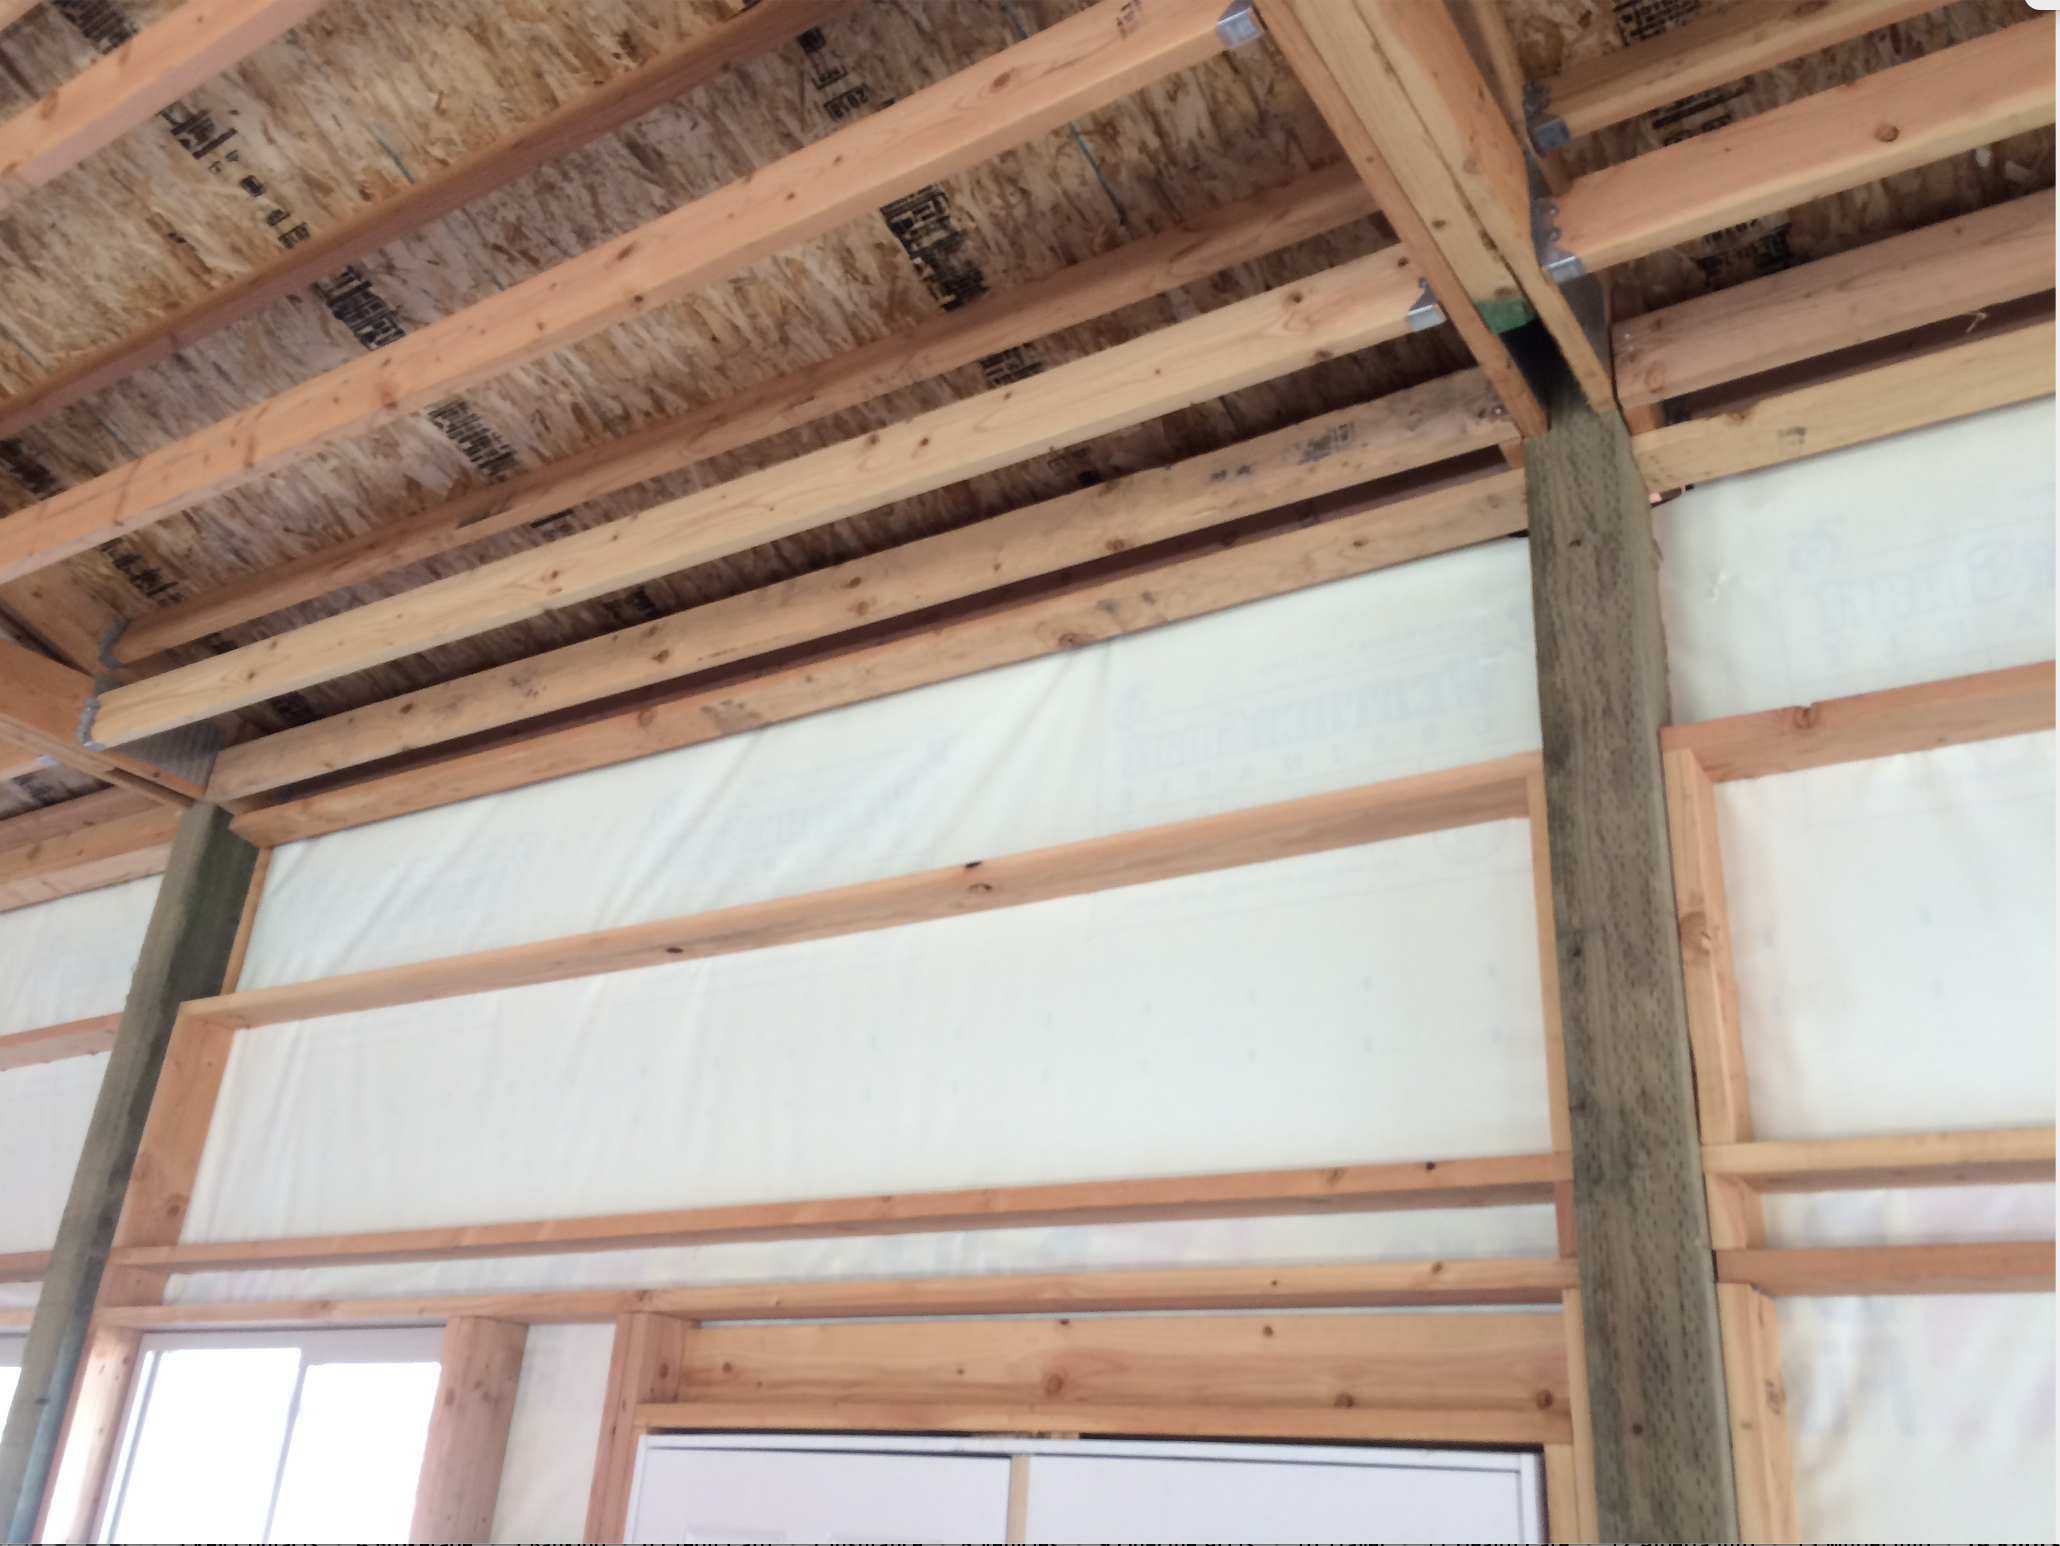
 Building plans are drafted prior to receipt of truss drawings, so trusses as drawn on your plans are merely a depiction of what they may look like. Top and bottom chords as well as internal diagonal webs may be entirely different. The roof slopes will be accurate. Your building’s roof purlins certainly may hang below roof truss top chords, as this has no bearing upon your ability to insulate (please refer to Figure 9-5 of your Hansen Pole Buildings’ Construction Manual). As your roof has a Reflective Radiant Barrier, if you intend to use batt insulation between purlins, make sure to use unfaced insulation without a vapor barrier on underside, otherwise moisture can become trapped between two vapor barriers. This can lead to ineffective damp insulation as well as potential mold and mildew issues.
 uilding Designer Doug asked, “I’m sorry to keep beating the insulation horse, but I have a client who wants to put up a 60×100 building on his timberland. I asked him about heating it and he wants to put a wood stove in it. So he wants to heat it occasionally. It’s in Clackamas County, OR, so it will get cold.